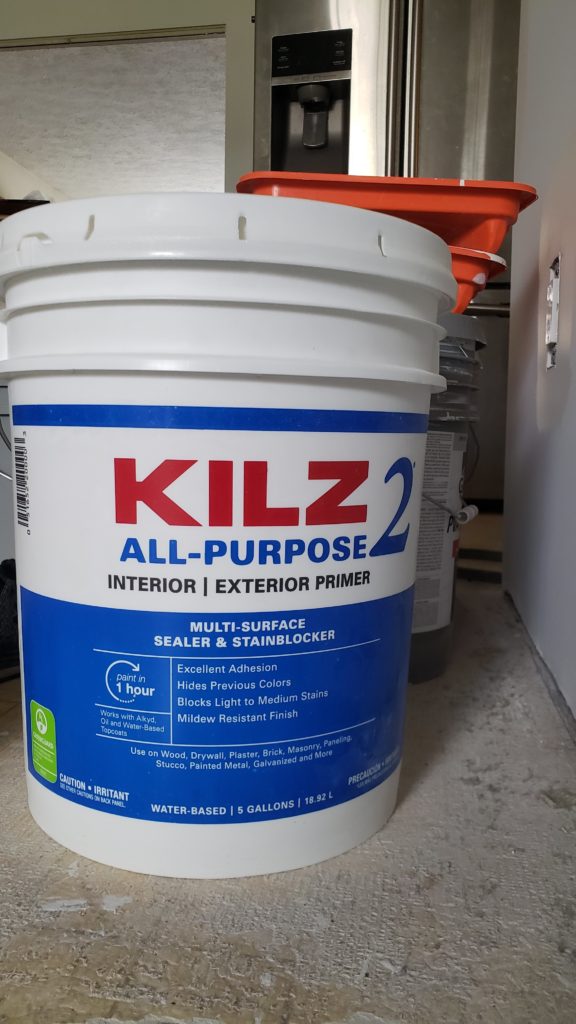
There are different types of primer for different projects. We won’t get into too much depth on that here, (maybe later) but just know that different viscocities of primer will soak in or absorb differently. For instance, drywall primer is pretty thin and the drywall soaks it up so that it seals in and doesn’t soak up all your paint. Other primers are thicker and won’t be absorbed as readily. Try to make sure you have the right variety of primer for the job you’re working on.
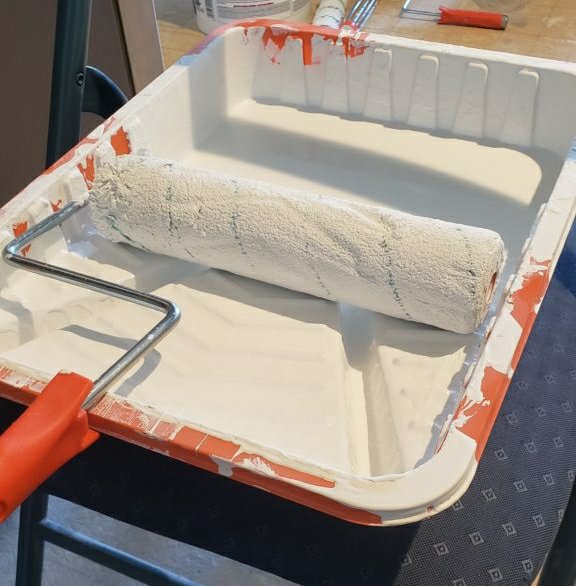
On a similar note, paint rollers have a different knap and will put paint down depending on that. A longer knap will give you a more textured lay to your paint, while a shorter knap will make a flatter, less textured look.
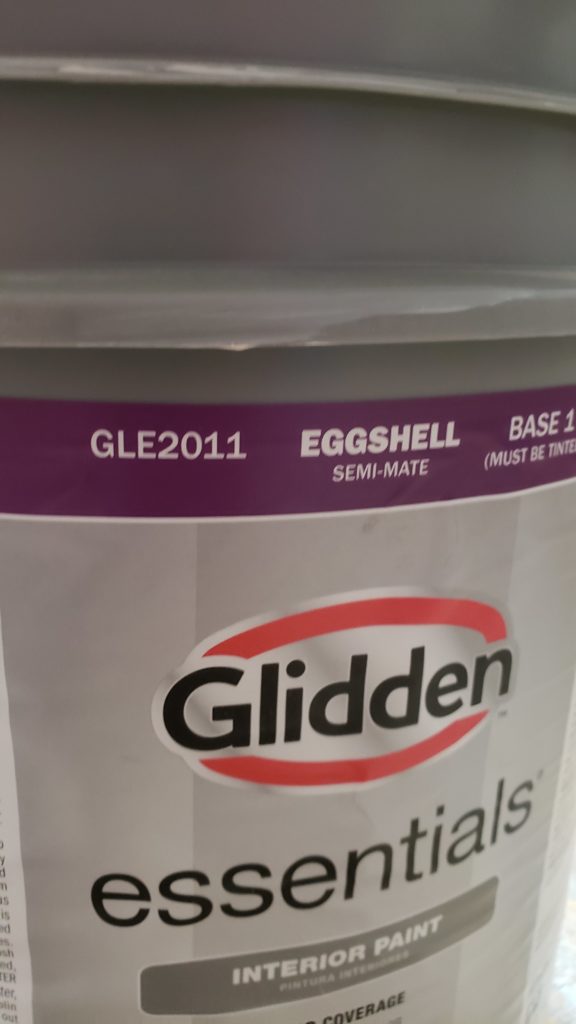
And the paint of course will have different finishes. You can get anything from matte to high gloss depending on what you’re going for. My favorite is in the middle, a nice “eggshell” for the walls, and maybe a gloss for an accent on baseboards.
We also chose two paint colors we liked and did swatches on a couple walls to see how they looked in different light. Being able to see that at varied times of day helped us gain perspective on what it would look like at night or direct sunlight too, and we were able to agree on a color more easily than just looking at paint cards.
You may also wish to purchase painters tape to make crisp hard lines to paint against, especially for edges and corners, or color transitions. My husband refuses to tape things off, so we do not use it, but it is fairly common to tape before you begin. Drop cloths for the flooring and furniture are also a good idea that we have done without and still been successful – just mind that you aren’t dripping. If you are remodeling and the floors are being done, just do the walls first so the old flooring can catch and mishaps instead of the new.
And you’re ready to begin! The great part about learning this two step process is that priming and painting have the exact same steps, so once you get the hang of priming, you’ll pick up painting like a natural.
How to prime
I was so nervous to begin priming, but my husbanf kept reminding me that it isnt visible under the paint for the most part. As long as you aren’t leaving an unfavorable texture with streaks and ridges and drips, it is really all going to be okay!
Rolling
To begin it is important to have the right amount of paint on your roller. Too much paint will cause drips. Too little paint will make you think you have to press harder while rolling, and this often leaves ridges or smudges.
The correct amount of primer or paint is enough to saturate your roller and coat it all the way around, but without dripping a lot. Dip the roller in the paint and then roll it several times on the ridges of your paint tray. This removes excess and helps to even out where the paint is on the roller.
Begin rolling primer in an open space and not too close to a corner or edge. The first area where you place the roller will generally get more paint, so it is easier to spread that paint out in different directions if you start in an open space. Starting too close to a corner or edge makes it very difficult to spread it out evenly and you run the risk of thicker paint drying and leaving a ridge.
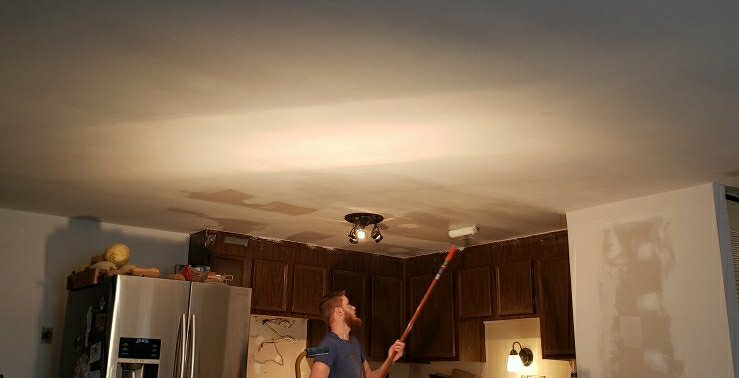
You want to make long even strokes with the roller, trying to move in one general direction, but going back over and area is okay as long as the primer hasn’t begun to dry and become tacky. Rolling over that again definitely gives it more texture and can take off primer instead of putting it on. My husband also showed me that it will look a lot smoother in the end if you try not to pick up the roller to move over – instead just angle the roller to move to the next section. Also try to apply even pressure on both ends of the roller so that one side isn’t depositing more paint than the other. If you’re reaching too far or over your head this can be particularly difficult, so it is helpful to work closer to arm’s reach.
Cutting in
Once you’ve rolled the main space, it is time to cut in. Some people cut in first and then roll, but it is my understanding that the order is not important. We do it both ways.
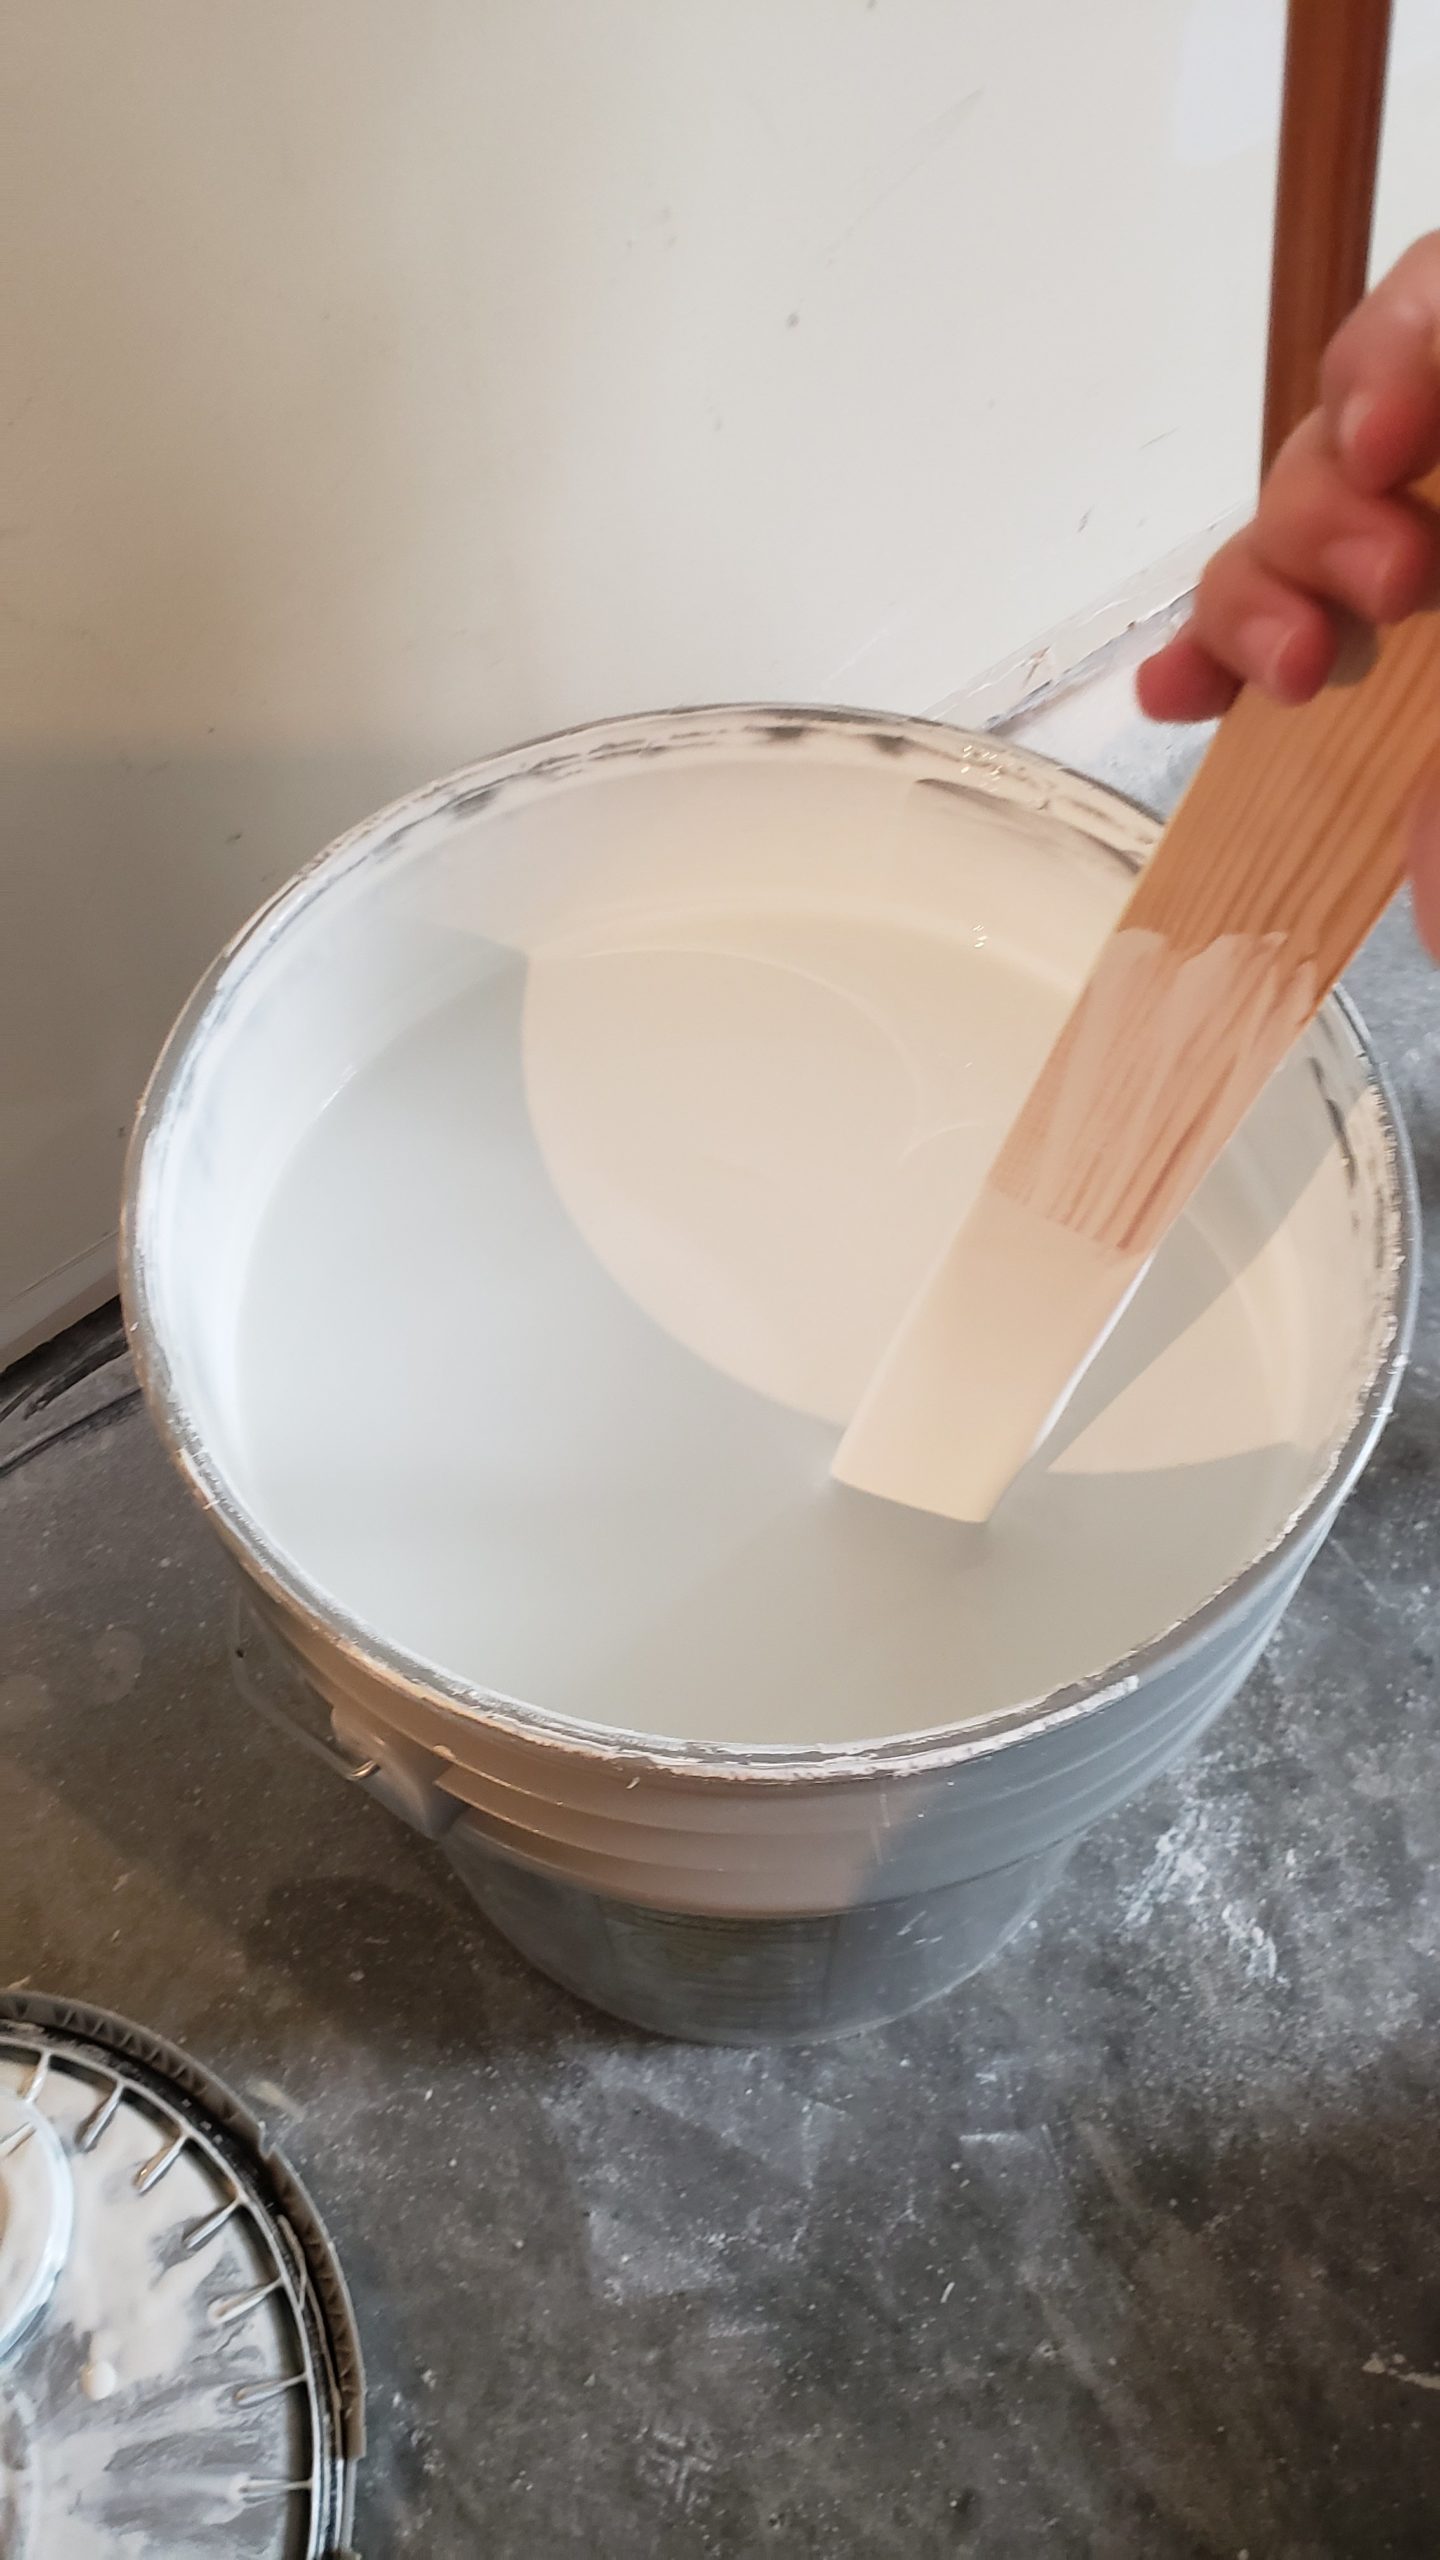
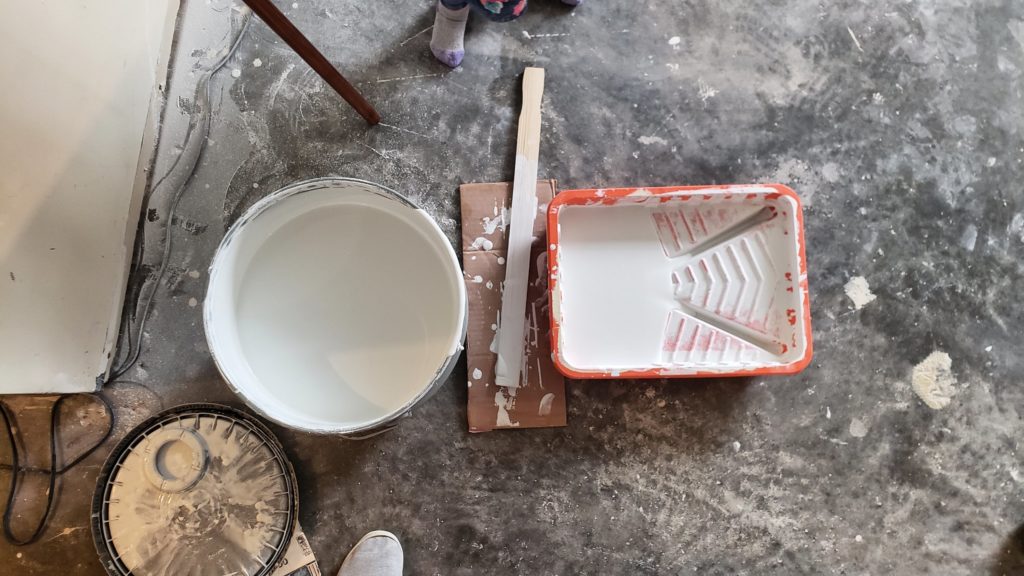
Having a smaller bucket is helpful here. We have even used a cleaned out sour cream container for this – it does the job just as well as anything. This way you can carry the primer you’re using in your hand and not have to make trips back to a 5 gallon bucket.
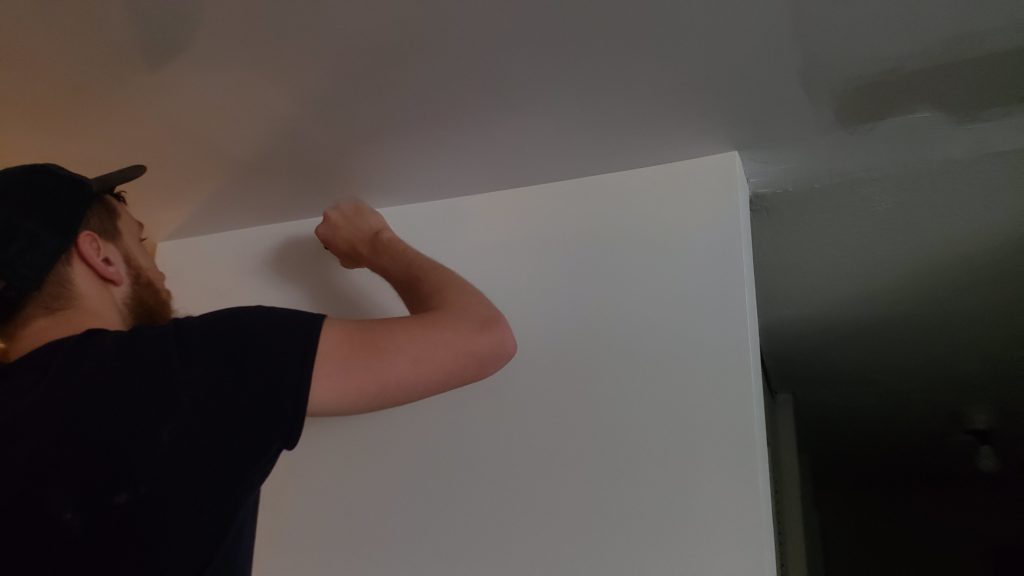
I mostly let my husband do the cutting in, as he has a steadier hand, but it isn’t that difficult, especially if you do use tape. The idea is to paint all the way up into the corners and edges where the roller cannot reach. You want to get an even coverage and make sure you meet or slightly overlap the rolled primer. The main difficulty is to avoid getting paint on a wall or trim of a different color (which is where tape helps). The other thing to be careful of is that it is much easier for your paint or primer to pool in corners and then drip or generally leave global thick deposits, in both horizontal and vertical corners. The trick is to apply thin layers and wipe away and drips before the primer gets tacky.
And now you’ve primed your walls!
Be sure to check the dry time on your primer before adding another layer or beginning to paint. This is important so that moisture doesn’t get trapped behind a second layer and damage your work or the drywall. It is also helpful to see how the primer dries so that you know if there are areas that need a second coat, or that you may have missed.
For our project we did a layer of drywall primer and two layers of regular kilz primer. We find that the second layer for extra brilliance helps the paint have a fuller, more vibrant color once it goes on. Plus it hides any texture or imperfections in the existing drywall, especially if it is not new.
Its time for painting
The beauty of the situation is that you get to make all your small blunders with the primer and get it out of your system so you can be a real pro at painting.
The process of painting is going to be essentially the same as it was for priming, but this time the final result will be very visible, so taking your time to do it the best you can is very important. Paint can be a different consistency than your primer, so I try to start in a less visible area to get a feel for how it goes on in case I make any mistakes.
A few pointers
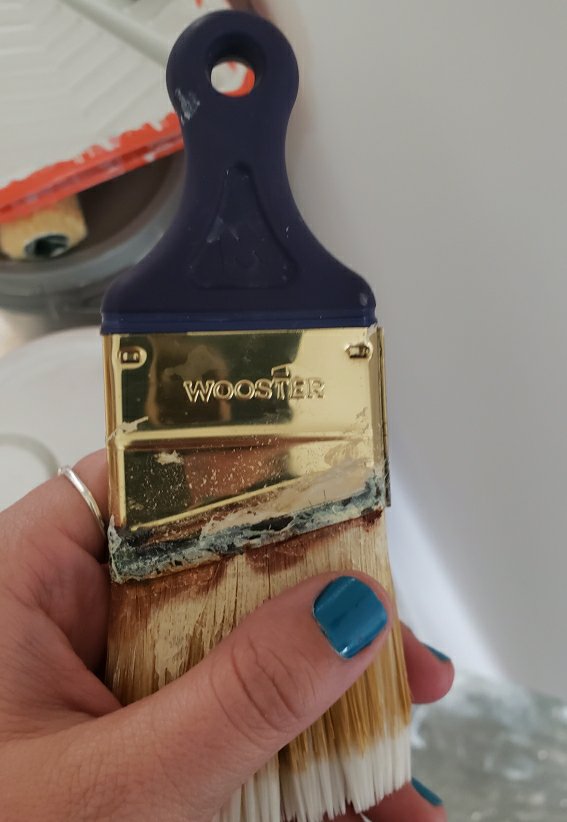
Make sure you clean your roller, tray, and brushes thoroughly between primer and paint. You don’t want them getting mixed and leaving streaks or uneven colors.
Be sure to stir your paint in the bucket before pouring it into your tray. This ensures the color pigments ate evenly dispersed, as well as an even consistency. (The top of the paint can become more congealed even if the bucket has been sealed.)
As I said with the primer, it is not a huge deal I’d you decide to cut in before or after rolling. My personal preference for painting, however, is to cut in first and then to roll. But again, as long as you have consistent coverage, it does not make a huge difference and your end results should look the same.
If you do a second coat be sure to wait the appropriate dry time, which is often longer than for primer. And be sure not to remove any tape you have used until the paint is dry, or you can create drips and streaks you otherwise would have avoided.
We almost always do a second layer of paint because it can help with the luminosity of the color we have chosen and hide any blemishes in the texture. There are some higher end paints that go on well enough that you do not need a second layer, but this is up to your preference.
Clean up
Once your paint is dry and you are satisfied, you are all done and ready to clean up. You can do tiny spot touchups with a brush. If you think you will ever have a need to paint again, thoroughly wash and dry your brushes and rollers so that they can be stored and used again. Tightly seal your paint bucket if anything is left and keep it in a cool dry place. If it is well sealed it can last a long time. If very little is left it will dry up or expire a little sooner than if there is quite a bit. Keep the name of the color written somewhere so you can get more of the same for touch ups down the line if you are all out.
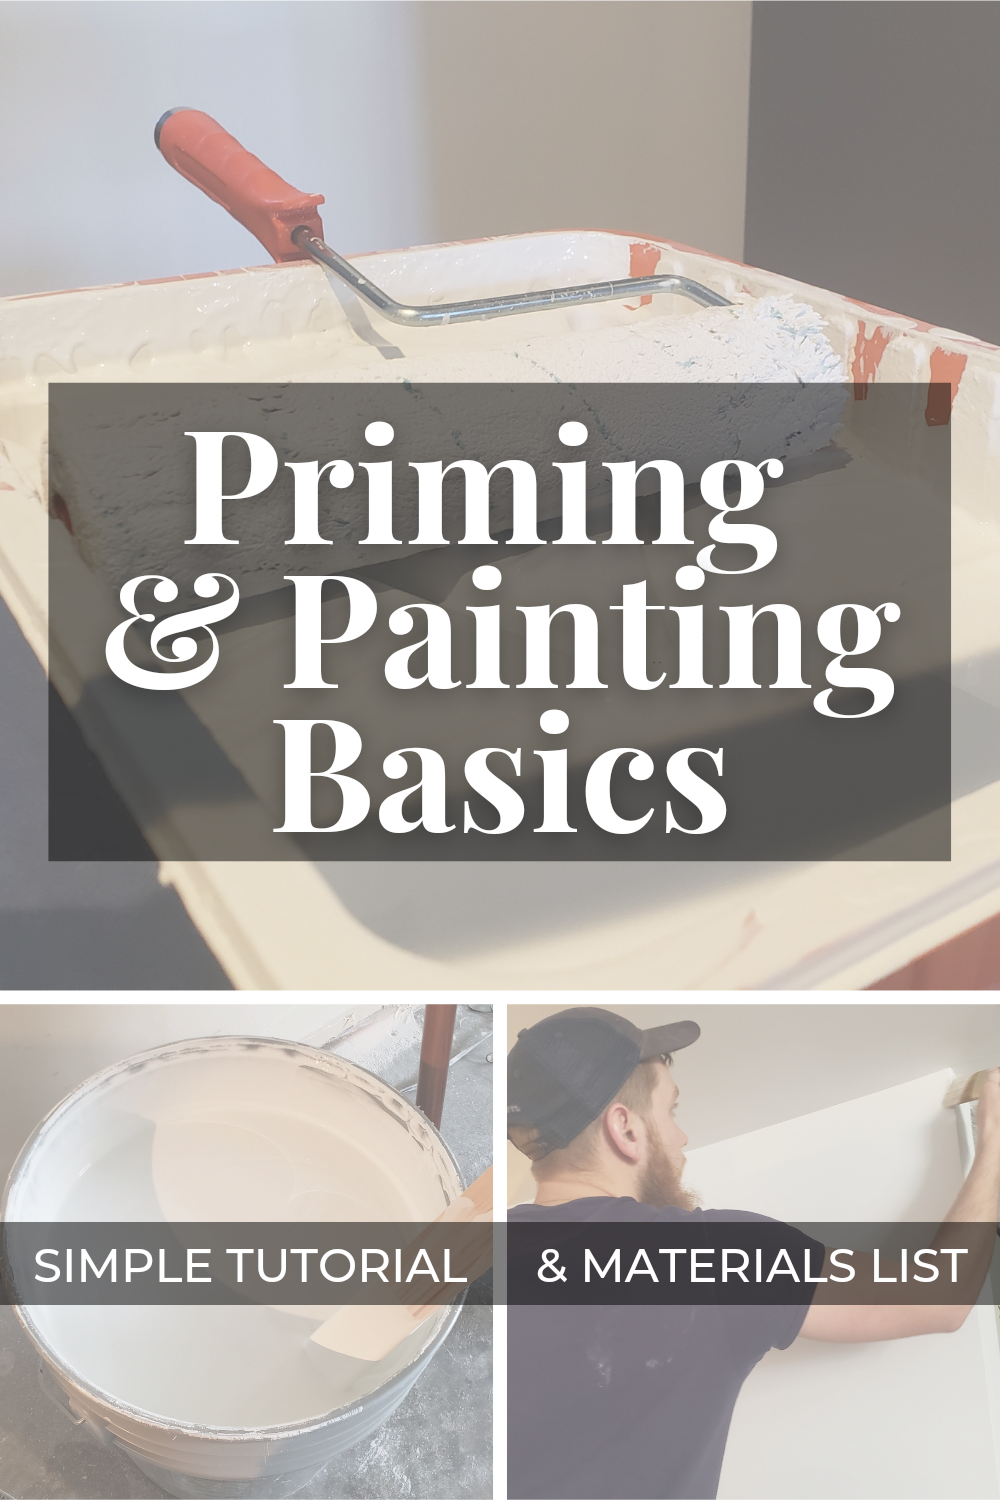
These are the priming and painting basics.

Hopefully these instructions and tips are easy to follow and help you see that your project isn’t too ambitious for you to handle. I went from nervous to flying though in less than an hour, and you can too! You will even realize that it is a lot of fun, and so rewarding to sit back and look at in the end.
Good luck, and happy painting!
You have so much knowledge in painting. Came to know about some important things.
Thanks, I’m glad you got something out of the post!
Thanks for the tips!!