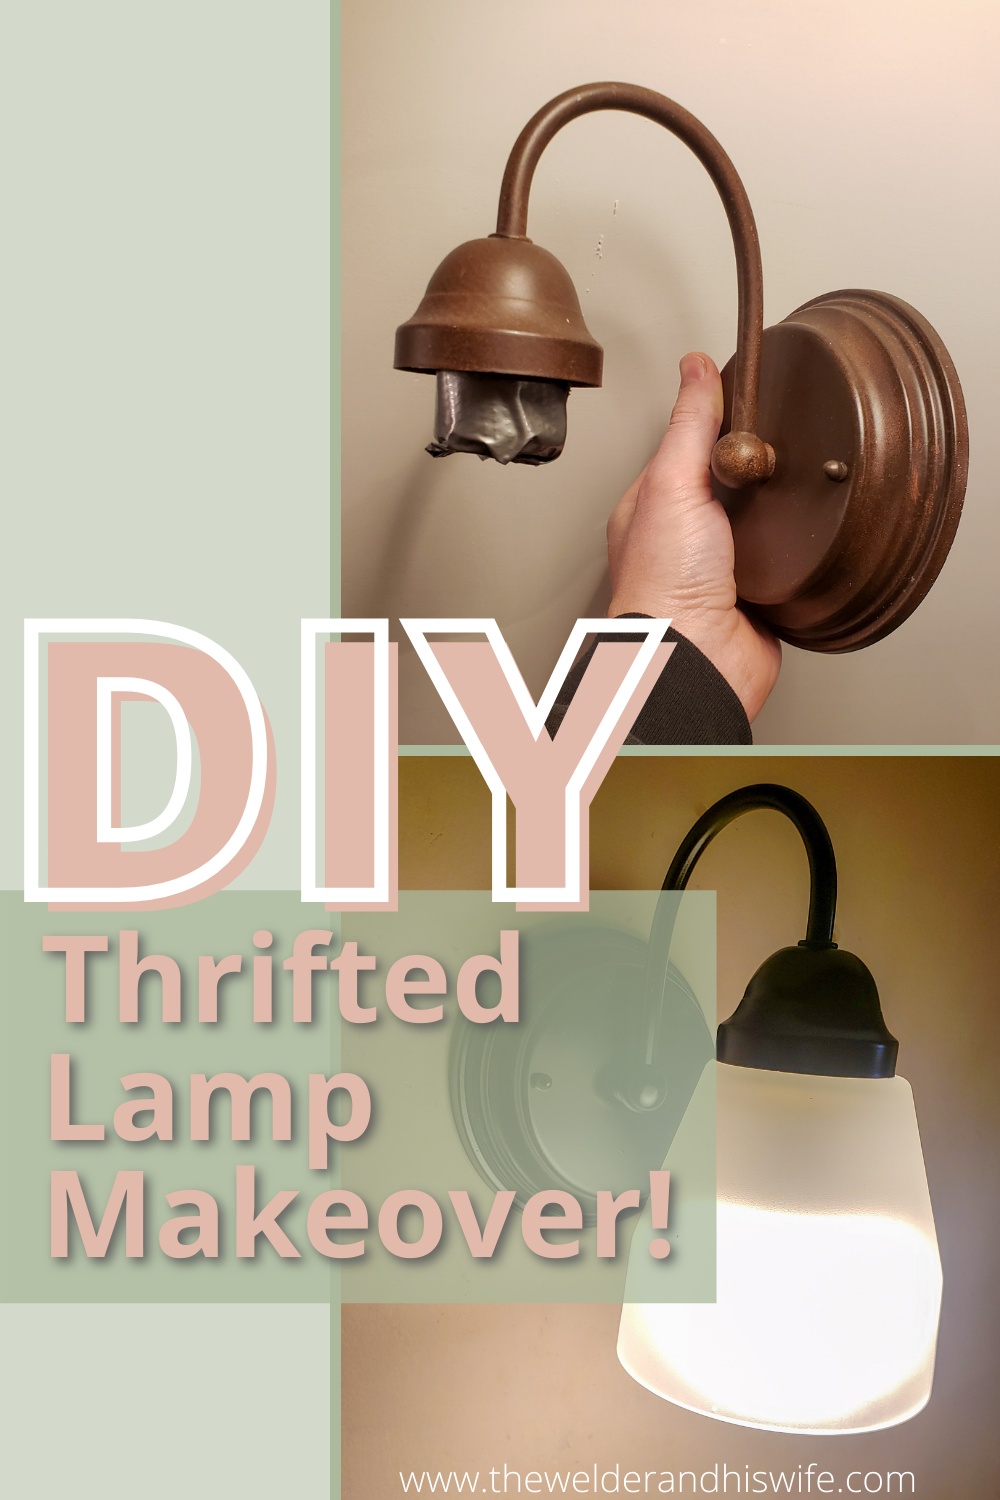
How To start a DIY thrifted lamp makeover
This post may contain affiliate links, which means we may receive a commission, at no extra cost to you, if you make a purchase through a link. Please see our full disclosure for further information.
I can’t even tell you how 80s our fixer upper is aesthetically speaking. Well, not just aesthetically – it was built in the early 80s. Its a shame that the place was poorly kept and needs so much work for such a recent build, but that’s the way it is. The good news is that updating small things like light fixtures can do a lot to make a space feel more modern and less retro-in-the-bad-ways. So we went thrifting.
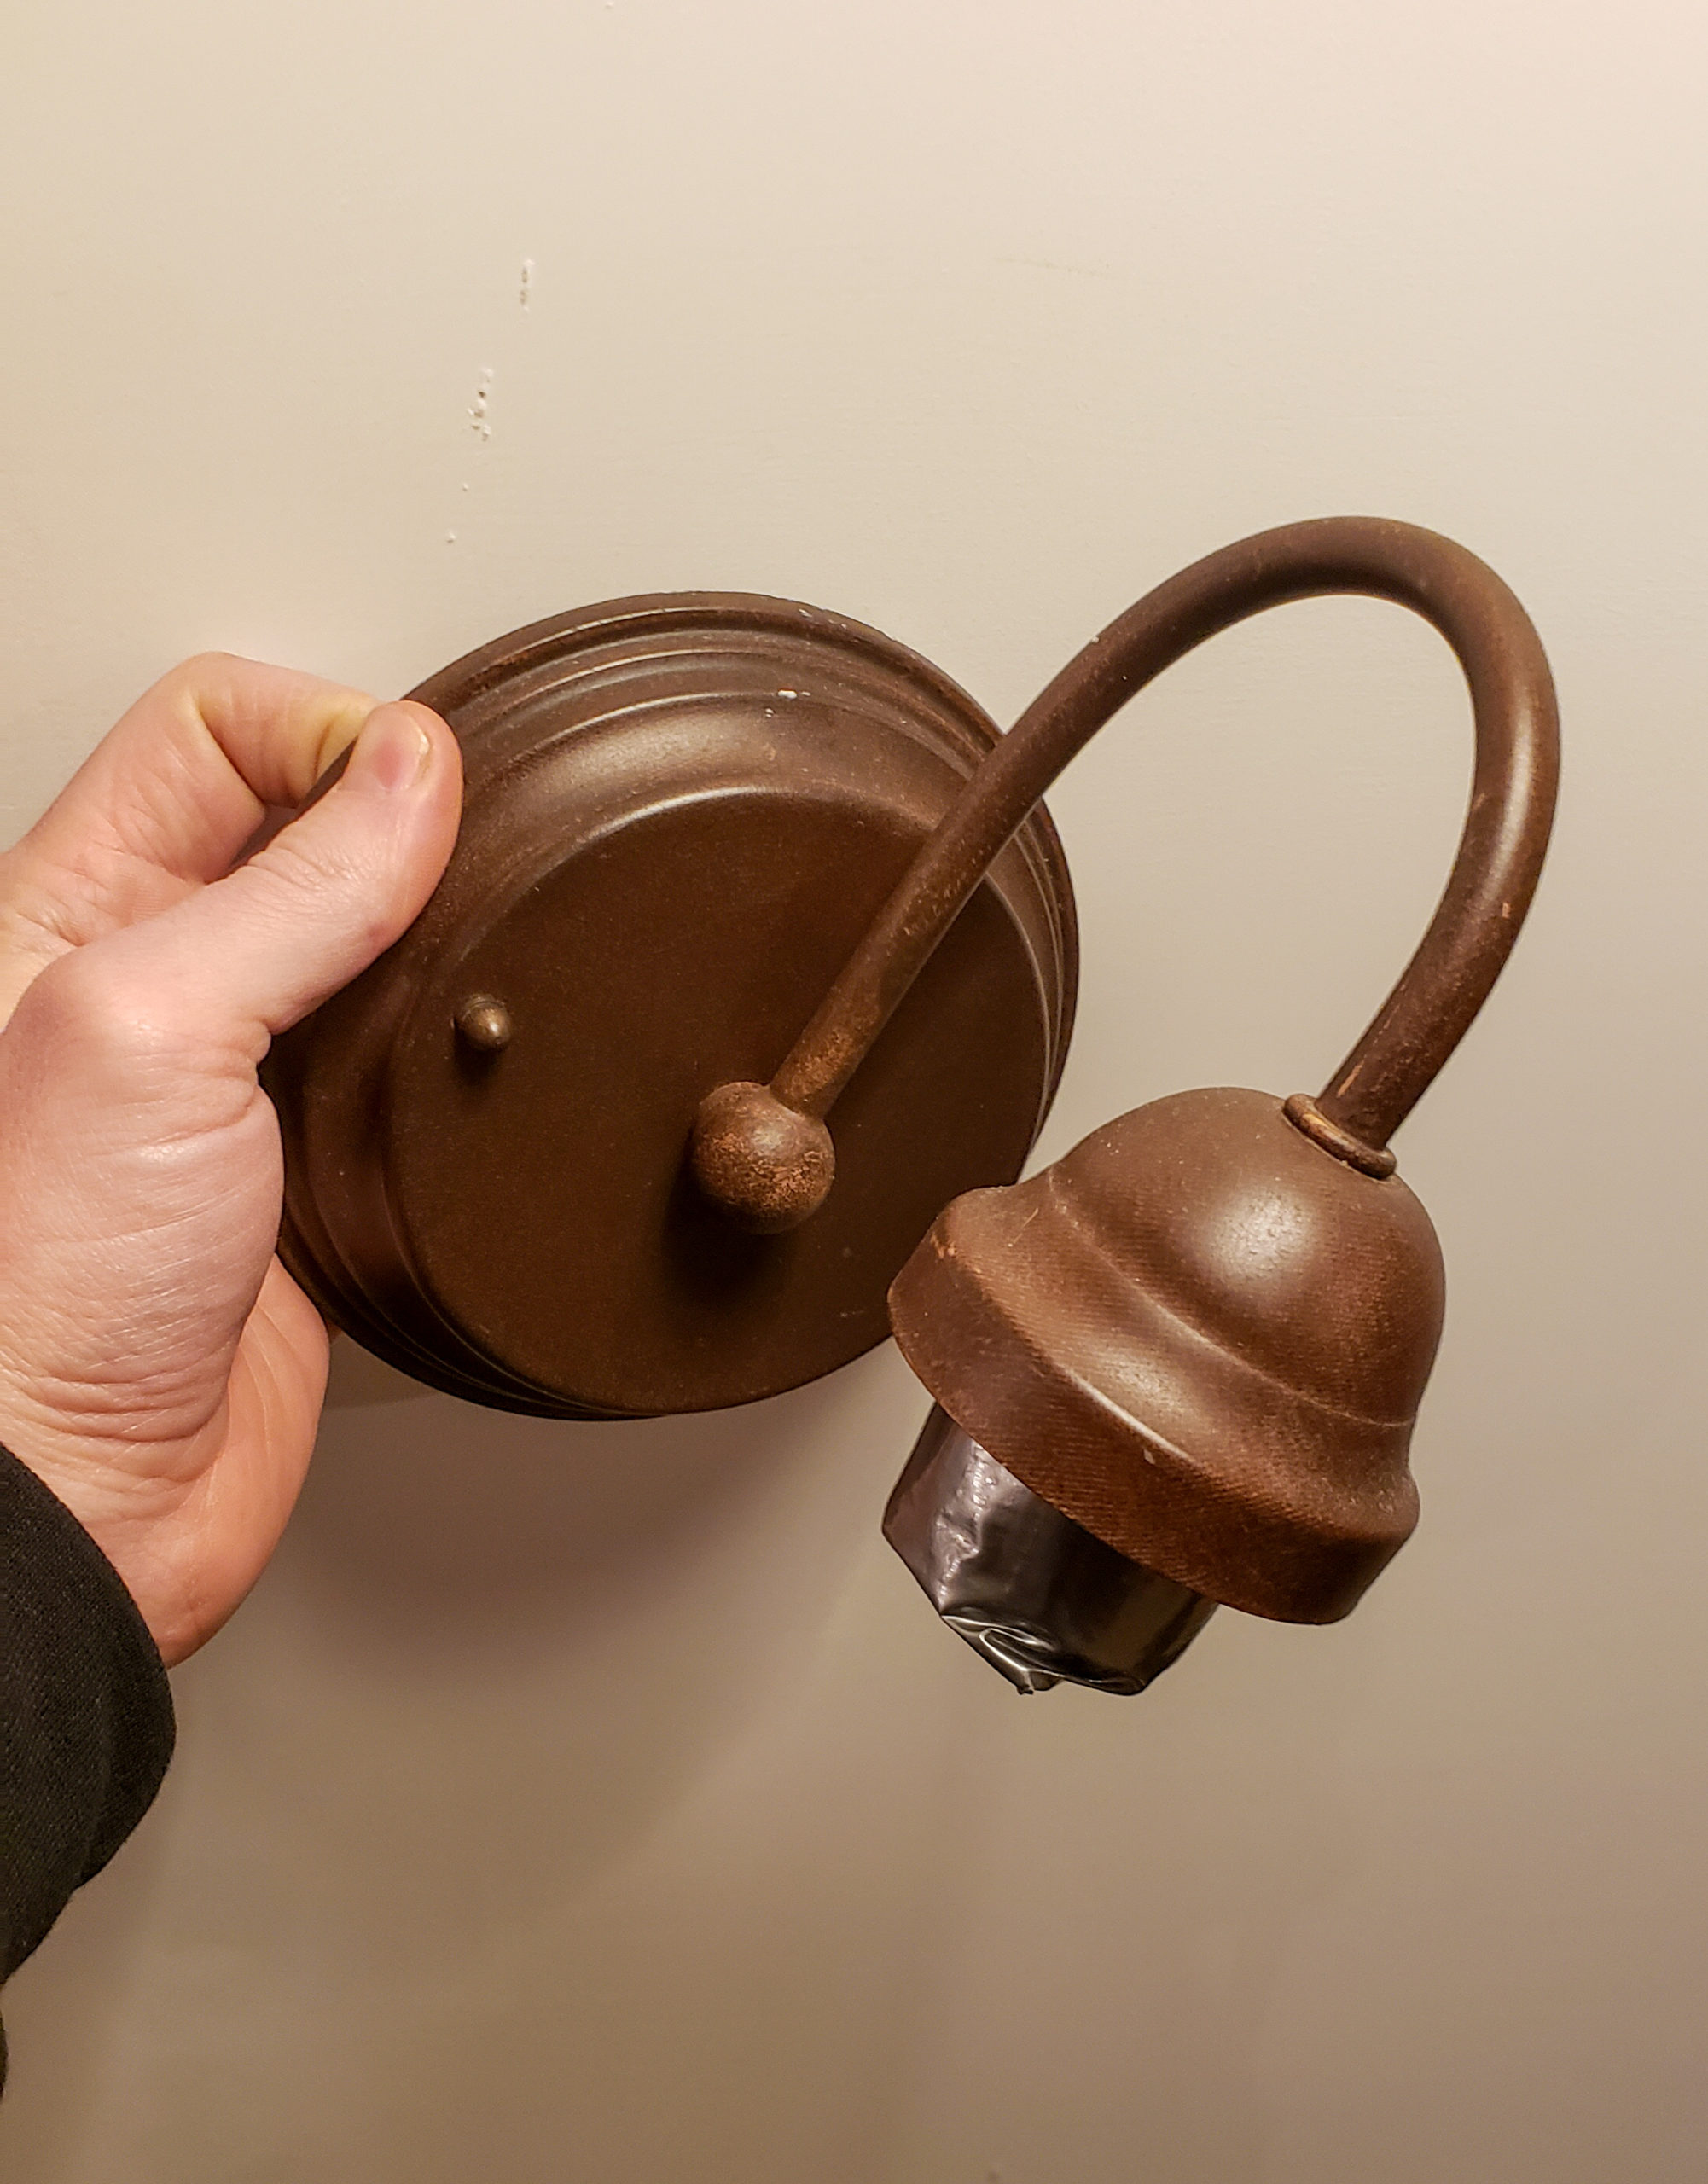
It didn’t take us long to find a small wall sconce lamp fixture we liked and a glass shade that fit. We bought them both for $4 and went home excited!
We are going for a trend at least in our main rooms with the black oil rubbed bronze for some accent pieces. We started with our front door knob and our ceiling kitchen light, and we wanted to take this brownish bronze and turn it to a smooth black to match.
Here’s what you need to get started, and the steps we took to update our thrift store find to the look we wanted.
Materials
- Lamp
- Tape (preferably painters tape)
- Cardboard or newspaper you don’t want to keep
- Spray paint (we chose black)
How to
Step one: remove the lampshade and clean both the lampshade and the lamp (removing dust or debris – especially any adhesive – is important before painting)
Step two: wrap painters tape (or whatever you have on hand) around the socket where the bulb screws in – you don’t want paint getting in there
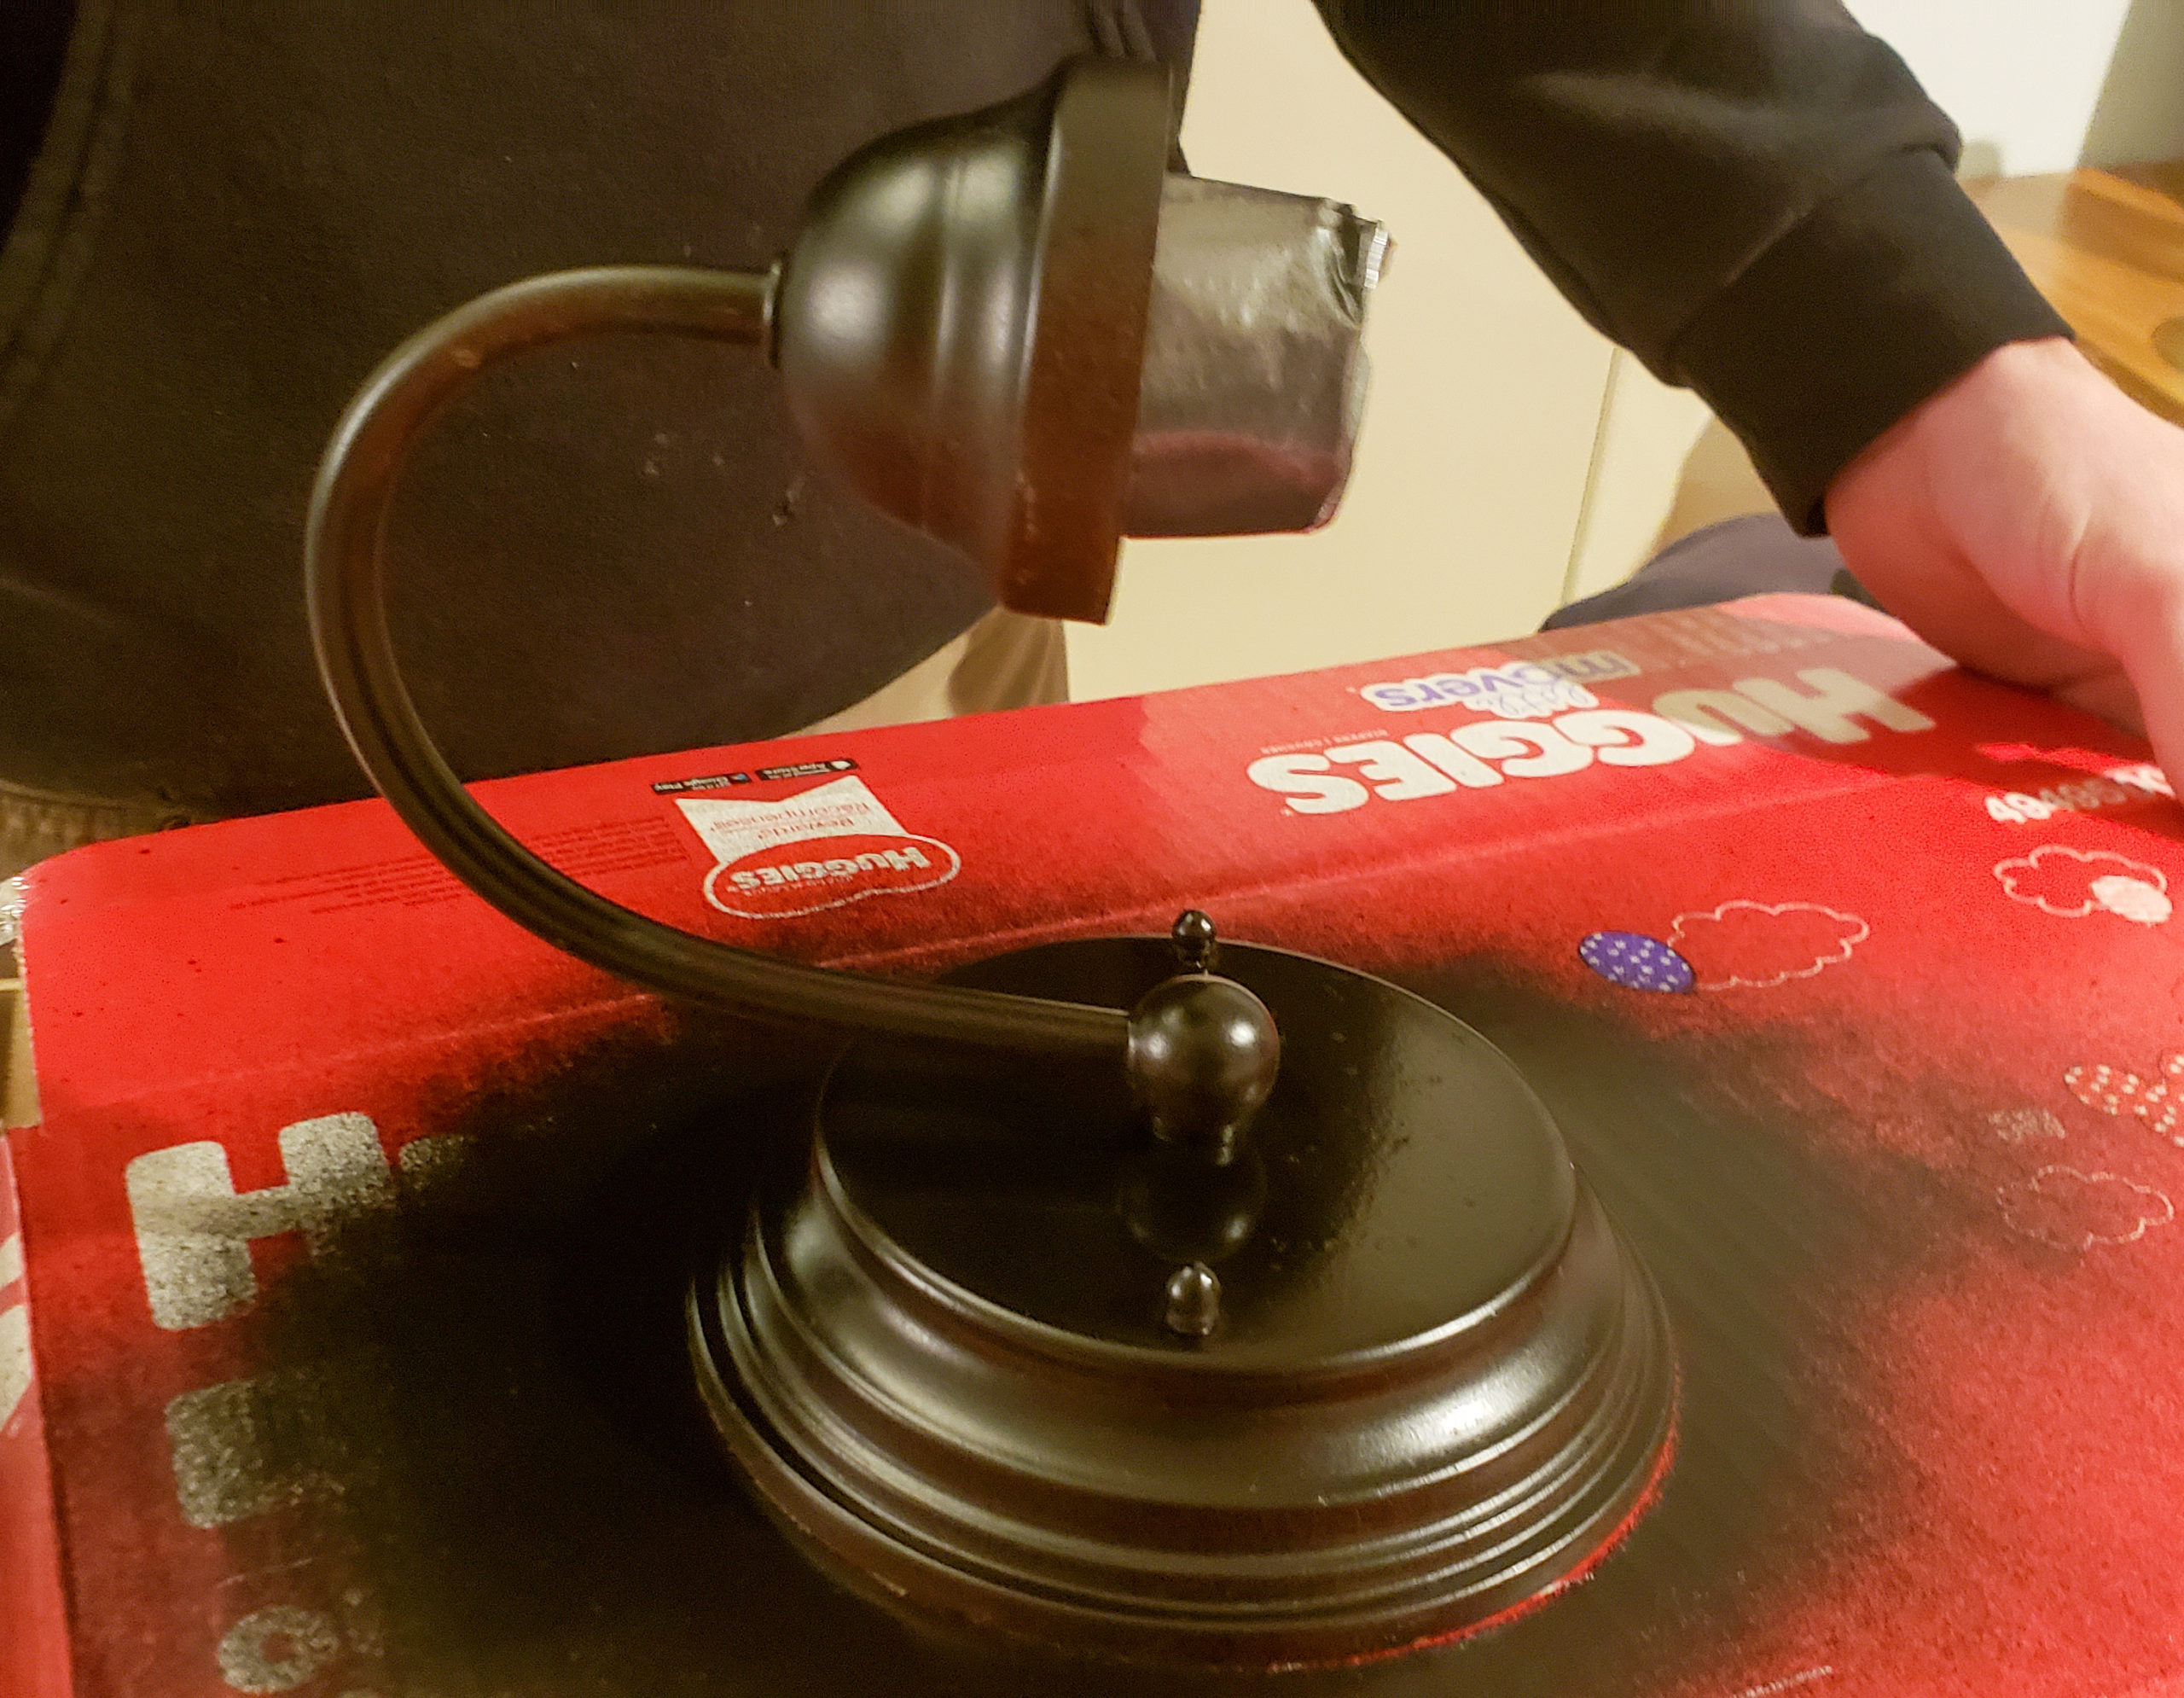
Step three: find a throw away piece of cardboard or newspaper and lay it on the floor of your garage or the driveway or the grass (if its windy you don’t want to do this outdoors but you also need to be very careful of what’s around you if you do it indoors, even in the garage)
Step four: spray your spray paint on one side at a time. You want to make broad sweeping motions to evenly coat the surface. If you simply follow the lines of the item or spray too close without enough sweep you will not have an even coat and you’ll have a lot of dripping
Step five: allow time to dry, and then add a second coat. This allows for a more even finish. If you find you missed any spots, go for a third coat. It’s better to have good coverage than regret that you rushed it!
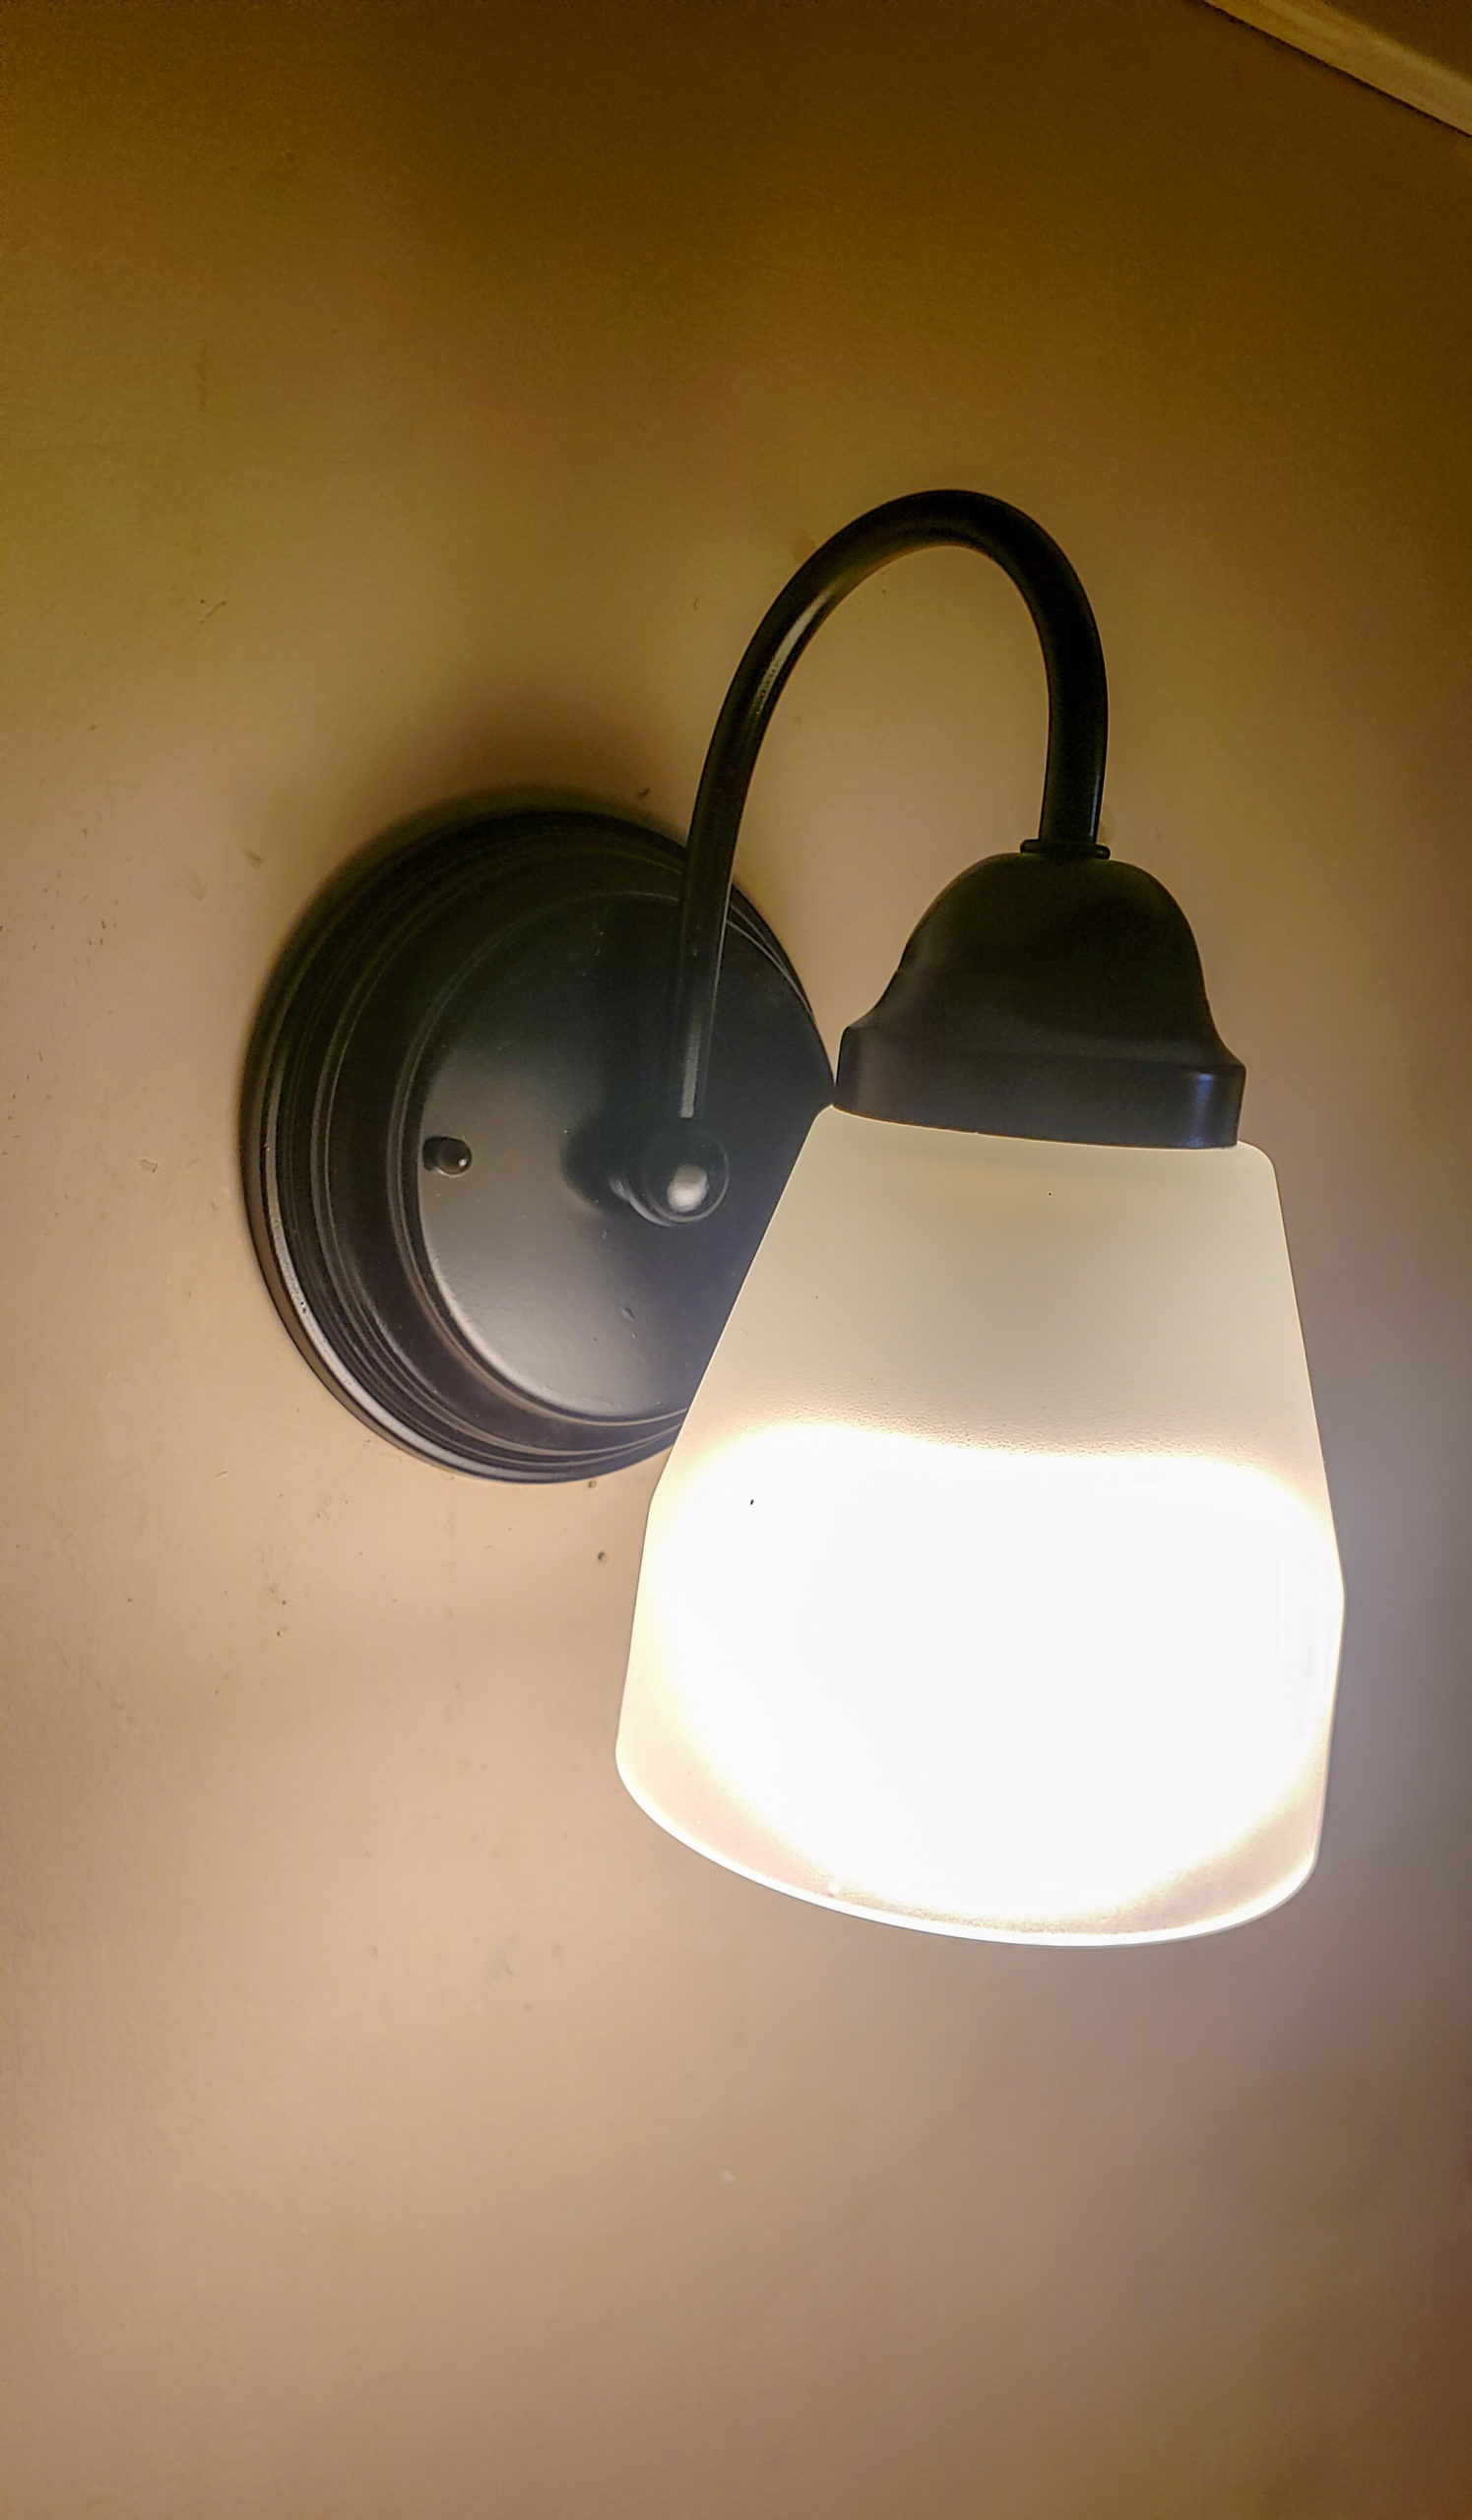
Step six: after the final drying period (which should only take a few minutes) go ahead and remove your tape and mount that sucker to the wall (if it is a fixture rather than a table lamp). It is now ready for a bulb and lampshade!
And voila! You’ve got a DIY thrifted lamp makeover on your “I’ve tried that!” list!
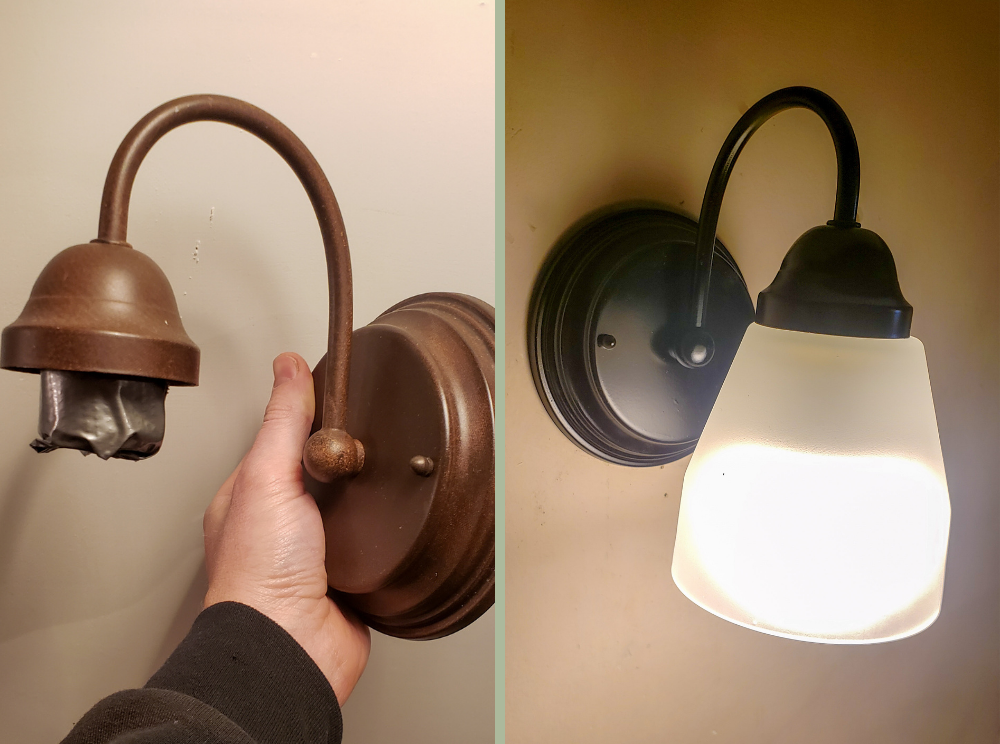
Once you’ve updated one item this way you’ll begin to realize just how easy it is, and then suddenly the rest of your old hum-drum current decor items are in jeopardy of getting a face-lift as well! Plus you’ll start looking at things a whole new way when you hit up the thrift stores. Not a bad problem to have if you ask me!
WOW! What a transformation. Thanks for including the DIY steps!
I’m glad you liked it, hope it helps!
Looks so much better, and apparently quite easy to do!
Thanks! Its very simple and satisfying to see the transformation!
I really love this idea! It’s amazing what a bit of paint can do. Thrift shops these days have so many hidden gems that we can make our own. Thanks for sharing the transformation pics 🙂
Right? I am excited to do more small easy upcycling projects like this when the big jobs are completed!
I love DIY. And you included step by step instructions!💯
So glad its helpful!
This looks amazing! I love how you transformed the lamp into something beautiful!
Thank you!!