The thing about big long home renovation projects is that they defy the space-time continuum. How could skim coating a ceiling take most of a week? Preposterous. How could skim coating a ceiling, which technically adds a layer, make the space of a room feel bigger than it did before? Impossible.
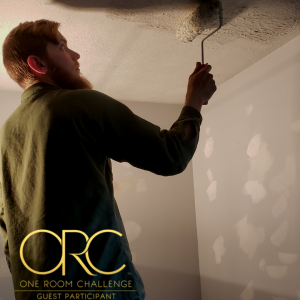
All that is to say, that we spent the time we had this week skim coating the ceiling of the girls bedroom, and except for some touch up sanding, that is behind us.
However, it is important to note that skim coating a ceiling does NOT TAKE A WEEK, it just took US a week. We only got to work on it on two days, and tackled some other things in the mean time.
Skim Coating a Ceiling
Skim coating a textured ceiling can be a big project, but it is not complicated if you get the right materials and practice a little. If you have multiple rooms to do, I would recommend starting in a room that’s used or seen less to get the hang of it, and then move on to more frequented spaces.
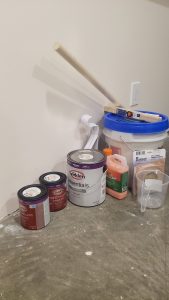
Materials
• Light joint compound (all purpose works too)
• A bucket
• Water
• A clean paint roller
• A 12 inch drywall knife (or larger)
• Sanding sponge or brick etc
• (Optional: a large scraper)
Process
• The optional part is first – scraping the ceiling a little – this knocks down the highest peaks of texture so that skimming requires fewer coats
• In a bucket mix joint compound with water until it is the consistency of yogurt
• Use the paint roller to apply a liberal amount of mud to the ceiling. Begin by working a small area, maybe 3ft by 3ft to get started.
• When the space you’re working on is coated in mud, scrape one side from one end to the other, applying more pressure to the outside of the area.
• Then proceed across the mudded area, applying pressure on the opposite side as your first swipe, ensuring that you do not leave additional lines across your drywall mud.
• Once the whole area has been scraped, you can do touch up by applying mud anywhere that too much came up, or scraping places you may have missed.
• Move across your room doing small swatches like this until the room has been coated, and then allow to dry.
• Once it has dried, you can sand in between coats, or if it is fairly smooth and even with no big protrusions, you can do a second coat, following the same process above, and making everything look as seamless as possible.
• Once you are satisfied with your mudding and sanding you are done! Some areas may need a third coat, but usually two coats does the trick.
You have now skim coated your first textured ceiling! Doesn’t that look so much better?!
The ceiling should then be primed and painted with ceiling paint before reattaching any ceiling fans or lights.
As you can see, the process of skimming a ceiling has very few steps and is not complicated. However, it can take time to get the technique down and be able to move more quickly and with precision.
Next for the ORC
This week we hope to begin priming the room. I know I have said that probably a couple times now, but we finally seem to be there. After taking a weekend to visit with some family, it is time to get cracking again.
We also made a cut list and purchased the necessary items to give the girls a new closet for this room, so that’s in the works as well.
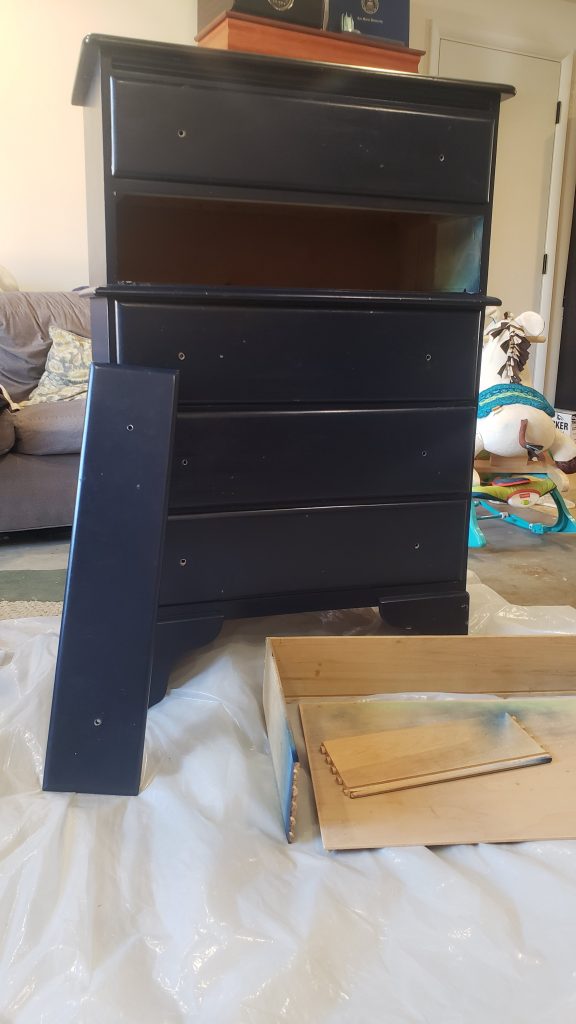
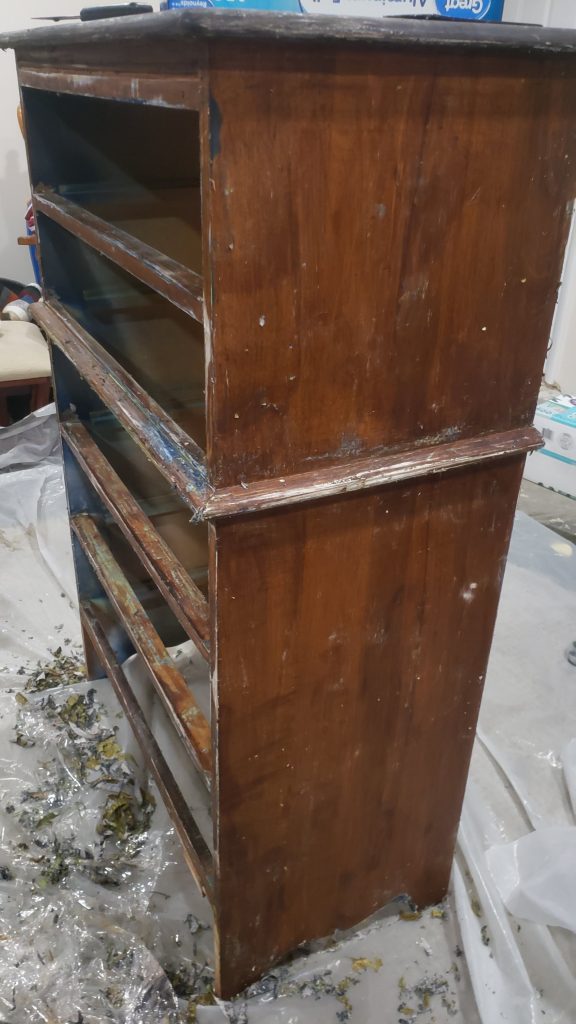
And we also got most of the way through stripping paint from a free dresser I got on FB Marketplace, and we will be deciding soon on a paint or stain for that.
The home stretch
It’s hard to conceptualize that this was week six and there are now less than 2 weeks until the final reveal for these rooms, if we manage to stay on our time lines!
I am not 100% sure we will have a completed room on reveal day, but I do think we will have taken the room from unlivable “staging area” from moving in, to a livable functional bedroom for the girls.
On that note, let’s get back to business! Good luck to everyone as we push through these last two weeks!